How to Bake Crispy Pizza in a Home Oven
A regular oven stops around 550°F. Stored heat, the broiler and lighter toppings still get you a crisp, spotty-brown bottom.
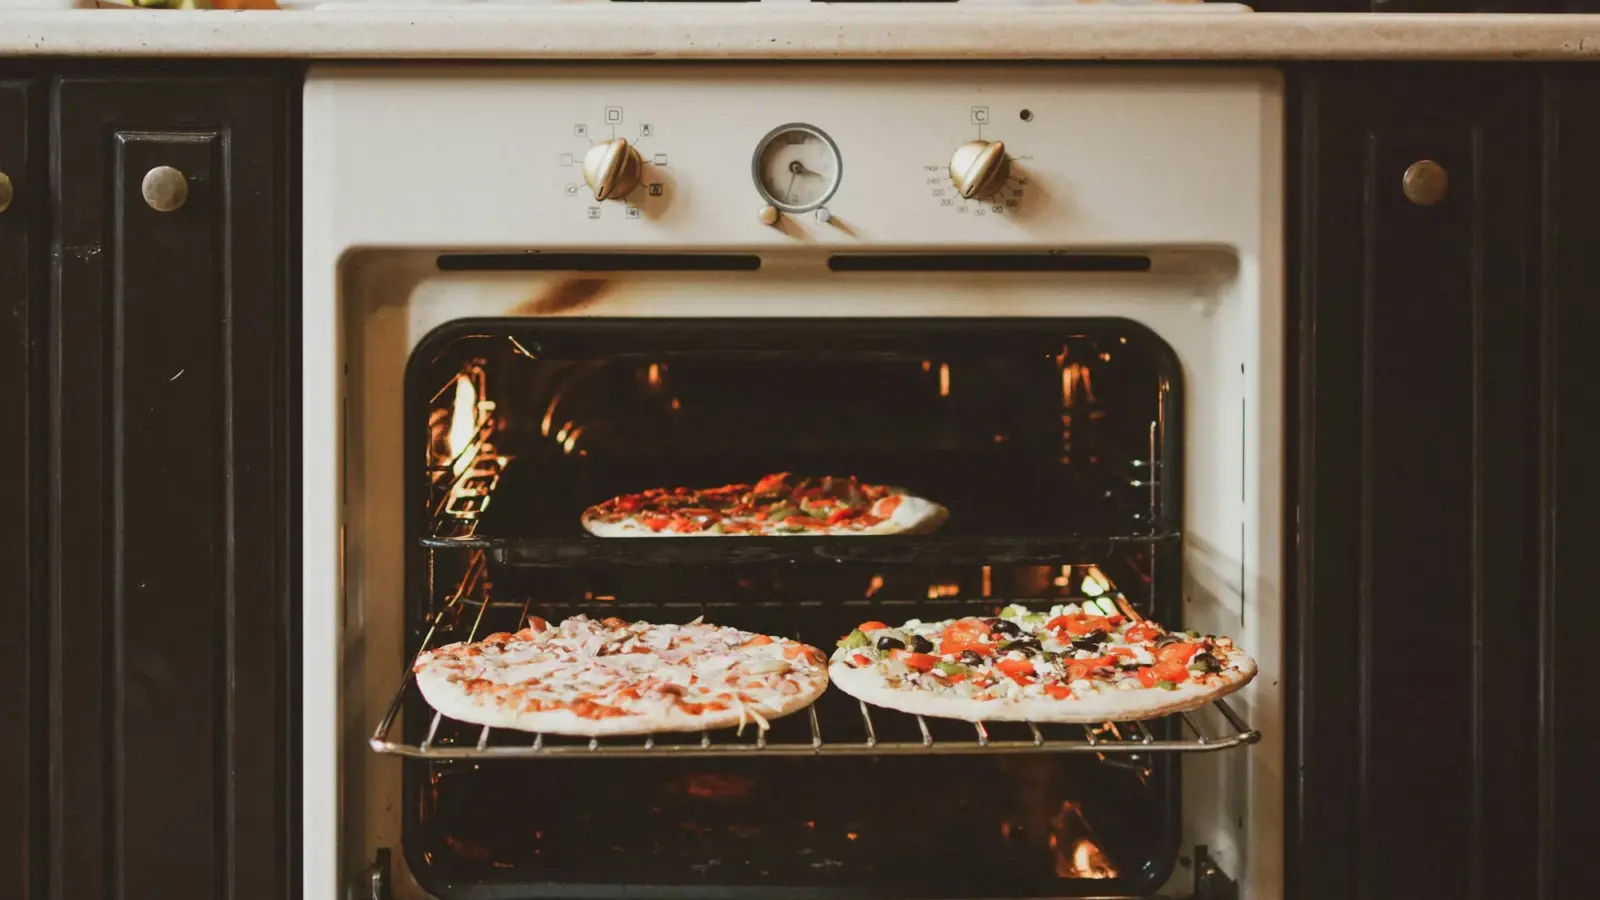
A home oven can turn out a crisp, well-browned pizza, just not on air temperature alone. Most ovens top out at 500 to 550°F (260 to 290°C), so the bottom of the crust has to get its heat from a steel or stone that has soaked in the oven for a full hour, and the top gets its color from the broiler. Add a dough with a little sugar and oil, keep the wet toppings in check, and the underside comes out freckled and crisp instead of pale and floppy.
At a glance
- Preheat the surface, not just the oven: 45 to 60 minutes at your oven’s maximum, usually 500 to 550°F (260 to 290°C).
- Best surface: for thin pies, a pizza steel, then a baking stone, then an upside-down sheet pan; for pan pizza, a cast-iron skillet.
- Rack: a steel in the upper third, 6 to 9 inches (15 to 23 cm) below the broiler; or the surface in the lower third, with the pie moved up to broil at the end.
- Toppings: about ¼ cup (60 ml) of sauce on a 12-inch (30 cm) pie; cook watery vegetables and raw meats first.
- Done means: an underside that is spotty brown when you lift the edge, not just a browned top.
Why a home oven struggles to make a crisp crust
Crispness is a race against the clock. The water in the dough has to be driven off before the bottom can brown, and the longer that takes, the drier and tougher the inside gets. In his tips for artisan pizza at home, King Arthur Baking’s Andrew Janjigian points out that home ovens generally stop at 550°F, and that the faster a crust browns, the less chance the crumb has to overbake.
Hot air is a slow way to move that heat. A preheated slab of steel or stone stores energy and hands it straight to the dough on contact, which is why the surface you bake on matters more than the number on the dial. The broiler handles the other half of the job, coloring the rim and cheese before the bottom overcooks.
Preheat for 45 to 60 minutes, whatever the oven beep says
The ready signal on your oven means the air has reached temperature. A thick stone or steel lags well behind it. When America’s Test Kitchen compared stone preheating times, a stone heated for a full hour gave a tender, well-browned crust; 30 minutes gave decent but unremarkable results; and an unheated stone produced a pale, dense crust even after twice as long in the oven.
Janjigian’s rule of thumb is at least an hour for a stone and at least 30 minutes for a steel, which conducts heat faster. The steel maker Baking Steel asks for 45 minutes to a full hour, and the extra time builds a deeper reserve for the second and third pies.
- Set the oven to its highest bake setting and let the surface heat with the oven from cold.
- Keep a ceramic stone dry and off the oven floor. Water absorbed by the porous ceramic expands when heated and can crack it, and America’s Test Kitchen warns that a stone left on the oven floor may damage some ovens.
- When you bake several pies, give the surface a few minutes to reheat between them, longer for a stone than a steel.
Tip: An oven thermometer tells you whether your dial is honest. An infrared thermometer aimed at the stone or steel tells you whether the surface that bakes the bottom is ready.
Steel, stone, skillet or sheet pan: how the surfaces compare
Any preheated surface beats a cold pan, but they are not equal. Steel conducts heat much faster than ceramic, so it browns the bottom sooner; Janjigian notes that moving from a stone to a steel can cut baking times by a third or more. In America’s Test Kitchen’s September 2026 review of stones and steels, two steels took the top spots: their crusts came out airier and more tender, while the stone-baked crusts were slightly drier and chewier.
| Surface | Preheat | Bottom browning | Best rack spot | Watch out for |
|---|---|---|---|---|
| Pizza steel (often ¼ inch / 6 mm thick) | 45 to 60 min | Fastest and darkest; shortest bake | Upper third with the broiler, or lower third for a two-rack bake | Weight: a ¼-inch steel can run about 16 lb (7 kg); can scorch slow-baking thick crusts |
| Cordierite or ceramic stone | 60 min | Good but slower; slightly drier, chewier crust | Lower third or center | Cracks from moisture or sudden temperature changes; slower to recover between pies |
| Cast-iron skillet | 5 min on the stovetop, or oiled and cold for pan pizza | Very good on pan-style pies; the oil fries the bottom | Lowest rack | Pie is limited to the pan, usually 10 to 12 inches (25 to 30 cm); very hot handle |
| Upside-down rimmed sheet pan | 30 min | Fair; better than a cold pan, behind a stone | Lower third | Thin metal stores little heat; can warp |
The inverted sheet pan is the no-purchase option: America’s Test Kitchen found that a sheet pan preheated upside down for 30 minutes did reasonably well, though not as well as a stone. If you are weighing the first two rows, our full pizza stone vs. pizza steel comparison goes deeper on thickness, weight, care and which one suits your oven.
Where to put the oven rack
Published methods disagree on rack height because they solve different problems: a surface high in the oven sits close to the broiler, while one low in the oven sits nearer the bake element. Pick one setup and adjust from there.
Steel high, broiler on
Set the steel on the top or second rack so its surface is 6 to 9 inches (15 to 23 cm) below the broiler element. Baking Steel’s method puts it about 7 inches (18 cm) down; America’s Test Kitchen’s Neapolitan-style recipe uses 9 inches (23 cm). Closer means faster char and less margin for error, so start at the 9-inch end if you are new to it. With bottom heat from the steel and top heat from the broiler working at once, a thin pie finishes in roughly 4 to 7 minutes.
Surface low, finish high
A stone gives up heat more slowly, so it benefits from sitting nearer the bake element. King Arthur’s New York-style pizza recipe sets the stone or steel on a lower rack with a second rack in the upper third, preheats at 500°F (260°C) for at least an hour, bakes the pie about 5 minutes, checks the bottom, then moves it up and broils it for 2 to 3 minutes. This two-rack approach works with a steel too, and it is the easiest way to manage an oven whose broiler is weak or slow to come on.
If your broiler is a drawer under a gas oven, the advice splits. King Arthur says to skip a bottom broiler, since there is not enough clearance, and bake a few minutes longer. Baking Steel bakes in the top third, then slides the pie alone into the drawer for the final minute to color the top.
How to use the broiler without burning the top
Many electric ovens delay the broiler or cycle it off when the oven is already very hot, according to Baking Steel. The company’s broiler method works around that: preheat the steel for an hour at 450°F (230°C) on convection bake in an electric oven (500°F/260°C in a gas oven), switch to high broil about 5 minutes before the pizza goes in, broil it for 90 to 120 seconds, then switch back to bake, rotate the pie and finish it in 2 to 5 minutes.
- Launch only when the element is visibly glowing. A broiler that is still warming up adds almost nothing.
- Rotate the pie 180 degrees once, halfway through, so the front and back get equal time under the element.
- If the top is browning faster than the bottom, turn the broiler off for the last 1 to 2 minutes and let the steel finish the base, as America’s Test Kitchen’s recipe advises.
- Stay at the oven door. Cheese goes from bronzed to burnt quickly under a broiler.
Warning: Parchment and broilers do not mix. Reynolds rates its parchment to 425°F (220°C), below pizza temperatures, and says to keep it away from heating elements. If you launch on parchment to prevent sticking, slide it out after the first minute or two, and never broil with it under the pie.
Build and launch the pizza for a home oven
A little sugar and oil in the dough
Traditional Neapolitan dough is flour, water, salt and yeast, built for wood-fired ovens far hotter than yours. At 500°F, a small amount of sugar speeds browning, and oil tenderizes the crust and helps it crisp. King Arthur’s New York-style formula uses 12 g each of sugar and vegetable oil to 360 g of bread flour, about 3.3 percent of each, at roughly 57 percent hydration. America’s Test Kitchen’s Neapolitan-style pizza for home ovens adds about 1 percent sugar to its 00-flour dough and tells you to leave it out if you bake in a 650 to 700°F (345 to 370°C) pizza oven, where it would overbrown.
Hydration matters as well. Janjigian’s point is that a wet dough needs a long bake to dry out, and a long bake overcooks the crumb, so a dough meant for a 550°F oven should be tuned to that heat. Our step-by-step New York-style dough is built for that heat: 62% hydration, with 2% each of sugar and olive oil.
Go easy on wet toppings
- Sauce: about ¼ cup (60 ml) on a 12-inch (30 cm) round is the amount King Arthur suggests for thin crust. Spread it thin and leave the rim bare.
- Vegetables and meats: cook mushrooms, onions, peppers, spinach and raw sausage before they go on, so their water leaves in a skillet instead of on your crust.
- Cheese: low-moisture mozzarella is the easy choice. If you use fresh mozzarella, tear it, let it drain and blot it dry; our guide to the best cheese for pizza covers the trade-offs.
For a pie built entirely around this balance, see our classic New York cheese pizza.
Launch fast and keep the door closed
An open oven door bleeds heat. Baking Steel reports that one minute with the door open dropped its oven’s air temperature from 569°F to 401°F (about 300°C to 205°C). The steel held up far better, back at 550°F ten seconds after the door closed, but the air takes the hit, so have everything ready before you open the door.
- Dust the peel with semolina, or a mix of semolina and flour.
- Stretch the dough first, then top it quickly on the peel. The longer topped dough sits, the more it sticks.
- Give the peel a short shake before you open the door. If any spot clings, lift that edge and toss a little more semolina under it.
- Open, slide the pie off with a quick forward push and pull-back, and close.
Thick crusts, pan pizza and the convection setting
Par-bake thick or heavily topped crusts
A thick crust cannot cook through in the 6 minutes that crisps a thin one. King Arthur’s guide to making pizza crust crispy par-bakes the shaped, untopped crust at 450°F (230°C): about 8 minutes for thin, 10 to 12 for medium and 12 to 14 for thick, until the top is pale and matte with only slight browning at the edges. Then it is topped and returned to the oven for 10 to 15 minutes.
Cast-iron pan pizza
A cast-iron skillet crisps the bottom by shallow-frying it. King Arthur’s Crispy Cheesy Pan Pizza uses a well-seasoned 10- to 11-inch (25 to 28 cm) skillet with 1½ tablespoons (18 g) of olive oil in the pan and bakes at 450°F (230°C) on the bottom rack for 18 to 20 minutes, moving the pie to the top rack for 2 to 4 minutes if the top needs color. For a faster version, Lodge heats the skillet on the stovetop over medium heat for about 5 minutes, oils it, presses the dough across the bottom, tops it quickly and bakes it at the oven’s maximum for about 10 minutes, until the cheese starts to brown. Either way, the handle stays dangerously hot, so keep a mitt on it.
Convection
Convection helps in two ways: the oven preheats faster, and the fan carries moisture off the cheese and toppings so they brown sooner. King Arthur’s Martin Philip notes the usual rule of lowering the temperature 25 to 50°F (about 15 to 30°C) in convection mode and finds 25°F about right for most baking. Pizza is the exception: in King Arthur’s surface-comparison video he runs the oven at 550°F with convection on. Keep the setting high and watch the top. If the cheese browns before the bottom is ready, bake the next pie 25°F (about 15°C) cooler or move the surface a rack lower.
Check the underside before the pizza comes out
The top can mislead you. Cheese will blister while the bottom is still blond, especially on a stone. When the rim looks right, slide a peel or thin metal spatula under the edge and lift. You want an evenly browned base with darker freckles; America’s Test Kitchen calls it spotty brown, and King Arthur looks for a bottom spotted and charred in places.
- Pale bottom, finished top: turn off the broiler and give it 1 to 2 more minutes on the surface. Next time, preheat longer or move the surface lower.
- Dark bottom, pale top: move the pie up under the broiler for a minute. Next time, raise the surface or bake a little cooler.
- Soggy center: use less sauce, drain the cheese and precook the vegetables.
- Crisp out of the oven, soft five minutes later: steam is condensing under the pie. Let it rest a minute or two on a wire rack instead of a solid board; King Arthur moves its pan pizza out of the pan promptly for the same reason.
A crust that comes out right also reheats well. When there are leftovers, our guide on how to reheat pizza and keep the crust crisp brings them back on the same steel or in a skillet.
Sources
- Top tips for artisan pizza, King Arthur Baking (Andrew Janjigian)
- Preheating a Pizza Stone, America's Test Kitchen
- The Best Pizza Stones and Steels, America's Test Kitchen
- What to Do If Your Pizza Stone Cracks, America's Test Kitchen
- Neapolitan-Style Pizza, America's Test Kitchen
- New York-Style Pizza Recipe, King Arthur Baking
- Thin-crust pizza: Tips for success, King Arthur Baking (PJ Hamel)
- How to make pizza crust crispy, King Arthur Baking (Rossi Anastopoulo)
- How to make Neapolitan-style pizza at home, King Arthur Baking (Rossi Anastopoulo)
- Crispy Cheesy Pan Pizza Recipe, King Arthur Baking
- Convection oven baking: Why this baker is a fan, King Arthur Baking (Martin Philip)
- Pizza stone vs pizza steel vs sheet tray: maximize your home oven for a crispier crust (video), King Arthur Baking (Martin Philip)
- How to clean a pizza stone or baking steel, King Arthur Baking (Afton Cyrus)
- The Evolved Broiler Method: The Secret to Perfect Pizza, Baking Steel (manufacturer)
- What Temperature to Bake Pizza in a Home Oven, Baking Steel (manufacturer)
- Gas vs Electric Ovens for Pizza, Baking Steel (manufacturer)
- Why Did My Pizza Stone Crack? 6 Causes and How To Prevent It, Baking Steel (manufacturer)
- How to Make a Cast Iron Skillet Pizza, Lodge Cast Iron
- Parchment Paper vs. Aluminum Foil for Baking and Oven Cooking, Reynolds Kitchens
- Neapolitan pizza recipe (AVPN regulations), Associazione Verace Pizza Napoletana