How to Make a Classic New York Cheese Pizza
Thin sauce, dry whole-milk mozzarella and a scorching steel or stone: how to assemble, launch, bake and slice a 14-inch New York pie at home.
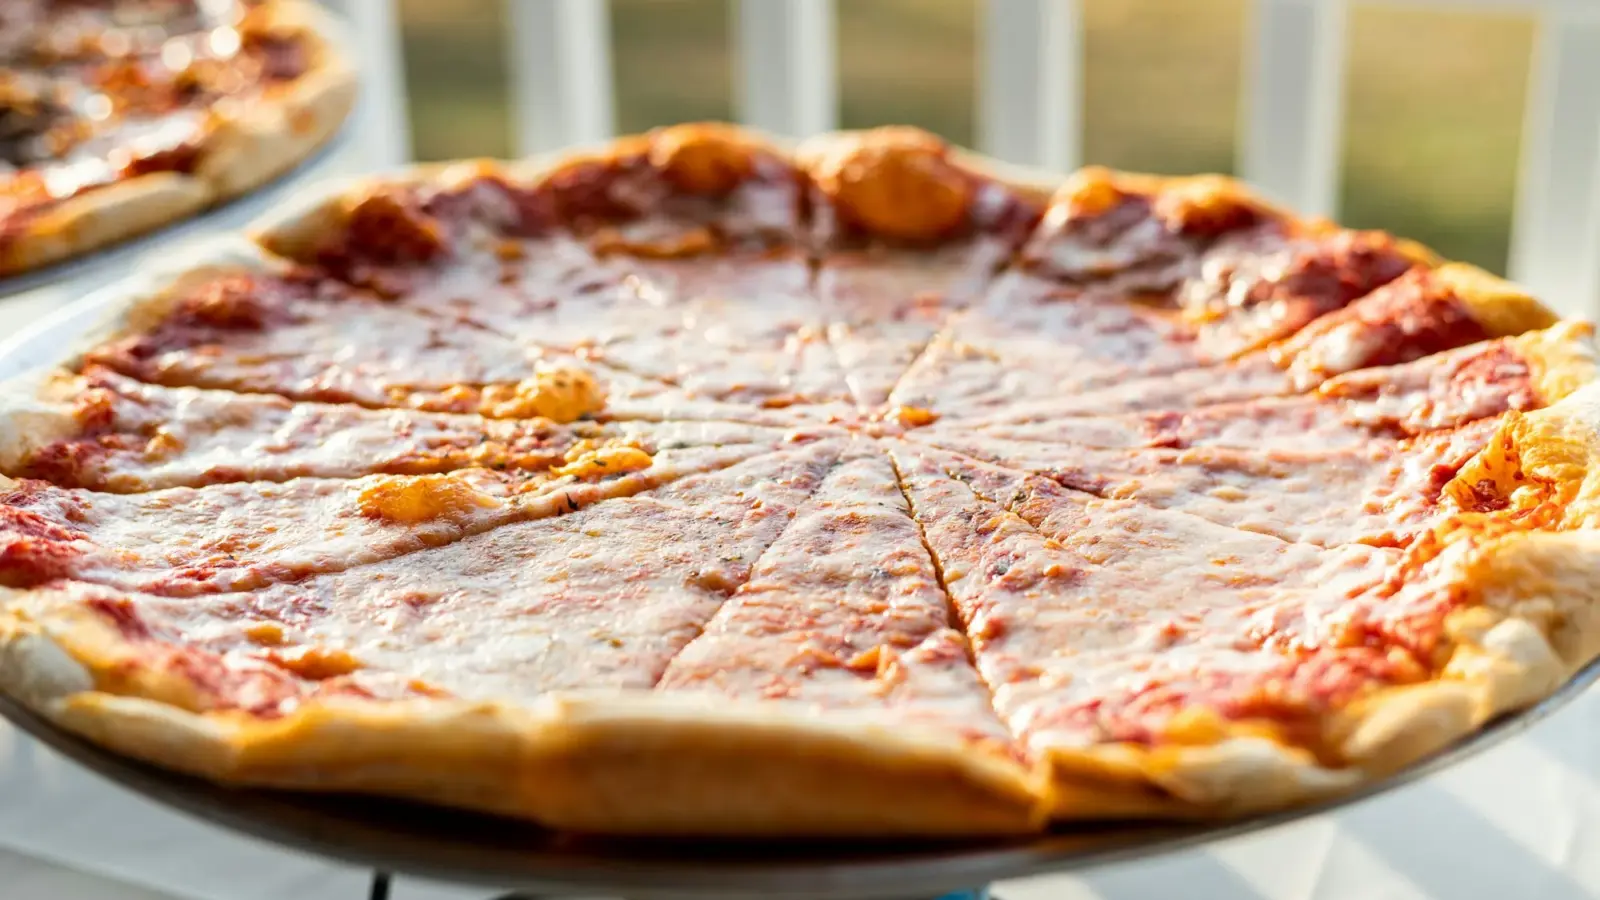
A New York cheese pie at home comes down to four things: a cold-fermented dough stretched to 14 inches, a thin coat of sauce, whole-milk mozzarella you shred yourself, and a steel or stone that has soaked up heat for close to an hour. Get those right and a home oven at 500 to 550°F (260 to 290°C) turns out a crisp-bottomed, foldable pie in 6 to 15 minutes.
This is the assembly-and-bake half of the job. It assumes a ball of our New York-style pizza dough and a container of homemade pizza sauce are waiting in the fridge.
Why this method works
A New York pie is meant to bake for several minutes, not seconds, so a home oven at full blast can make a good one. The oven air isn’t what crisps the crust, though.
A preheated slab of steel or stone dumps stored heat into the dough the moment it lands, setting the bottom before the cheese overcooks. Everything else protects that balance: thin sauce so the center doesn’t steam, dry mozzarella that won’t flood the pie, and a high rack so the top browns about as fast as the bottom.
Ingredient notes and substitutions
Dough and sauce
A 14-inch (36 cm) pie takes one 380 g (about 13½-ounce) dough ball, the size our dough recipe makes. That formula runs 62% hydration, 2.4% salt, 2% olive oil and 2% sugar; the sugar helps the crust color in a home oven and the oil keeps it tender. With a 1-pound (454 g) store-bought ball, pinch off about 2½ ounces (75 g) first, or the crust bakes up thicker and breadier.
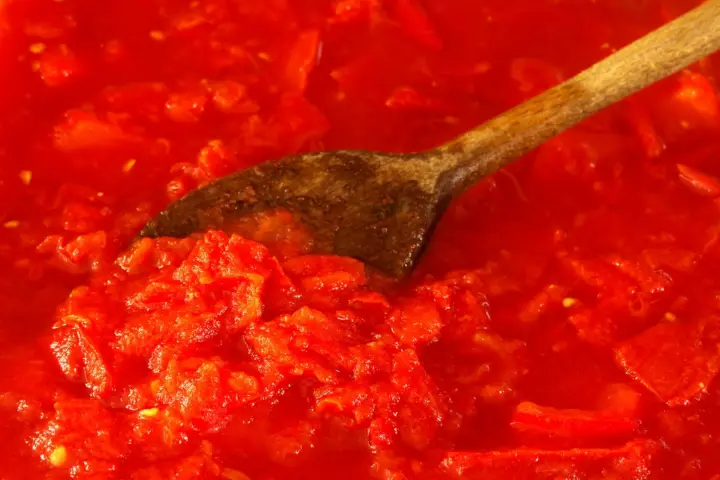
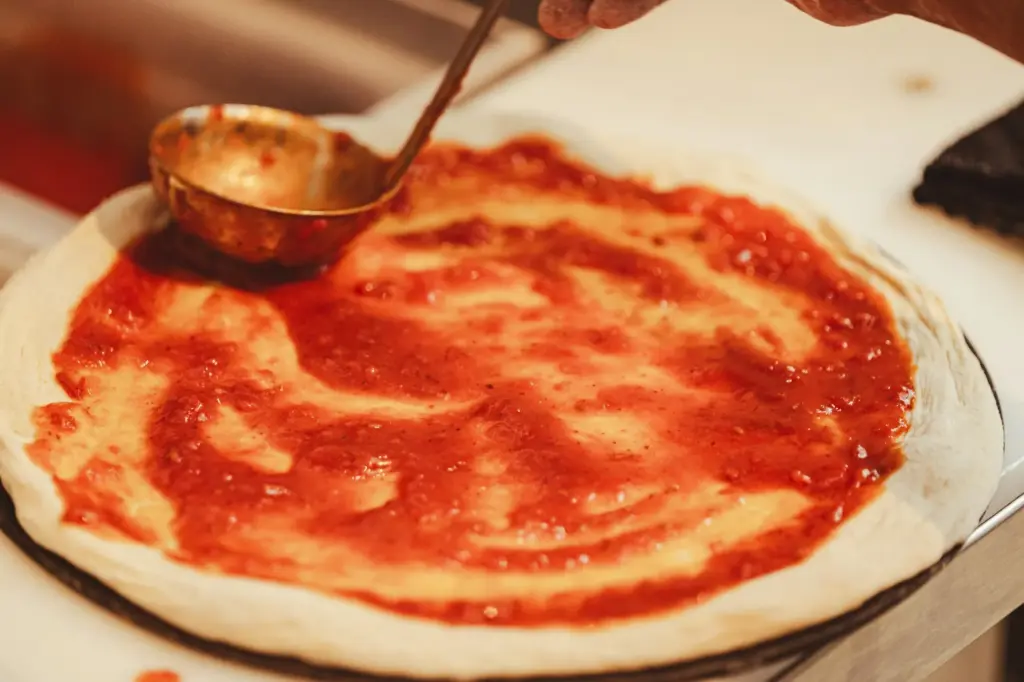
For sauce, ⅔ cup (160 ml, about 5½ ounces or 155 g) covers a 14-inch round thinly enough that the dough shows through in spots. That is the 14-inch portion in our sauce recipe. Go heavier and the center turns soupy. Use the sauce cold or at room temperature.
Low-moisture whole-milk mozzarella, shredded at home
Low-moisture mozzarella is the firm, vacuum-packed block, not the fresh ball sold in liquid. Its federal standard of identity caps moisture at 52 percent and requires at least 45 percent milkfat in the solids, so it melts into a stretchy layer instead of weeping.
Choose whole milk over part-skim. It melts smoother and stays supple, where part-skim tends to turn rubbery.
Shred it yourself on the large holes of a box grater. Bagged shreds are dusted with anti-caking agents such as potato starch or cellulose (check the label), which keep the strands from fusing into a smooth, glossy layer. Six ounces (170 g), about 1½ loosely packed cups, covers the pie without burying the sauce.
Grating cheese, oregano and oil
Two tablespoons (12 g) of finely grated Parmigiano-Reggiano or Pecorino Romano add salt and savory depth; use a little less Pecorino, which is saltier and sharper. Two teaspoons (10 ml) of olive oil drizzled on before baking add gloss and help the rim color. Dried oregano goes on after the bake, the way slice shops leave it in a shaker on the counter.
Tip: If your cheese browns before the crust is done, spread the shredded mozzarella on a plate and freeze it for 15 minutes before topping. Cold cheese melts more slowly, which gives the crust time to catch up.
Get the steel or stone truly hot
Set the steel or stone in the upper third of the oven and heat the oven to its maximum, 500 to 550°F (260 to 290°C). Up there, heat radiating from the oven ceiling browns the top while the slab crisps the bottom. Baking Steel’s own cheese-pie method uses the same top-third position and a 45- to 60-minute preheat at 500°F. Leave enough headroom to work the peel.
Then wait. The preheat beep means the air is hot, not the slab. In an America’s Test Kitchen preheating test, a stone heated at 500°F for 45 minutes read 451°F and gave only moderate browning after 10 minutes of baking; a full hour reached 509°F and produced a well-browned, crisp bottom in the same time. Give a steel at least 45 minutes and a stone the full 60.
| Pizza steel | Pizza stone | |
|---|---|---|
| Preheat at max temperature | 45–60 minutes | 60 minutes |
| Bake time, 14-inch pie | 6–9 minutes | 10–15 minutes |
| Broiler finish | Useful if the top lags: 1–2 minutes | Seldom needed; the longer bake browns the top |
| Main risk | Scorched bottom at 550°F | Pale, soft bottom if under-preheated |
Our pizza stone vs. pizza steel comparison covers which surface to buy.
Launching the pie without a wreck
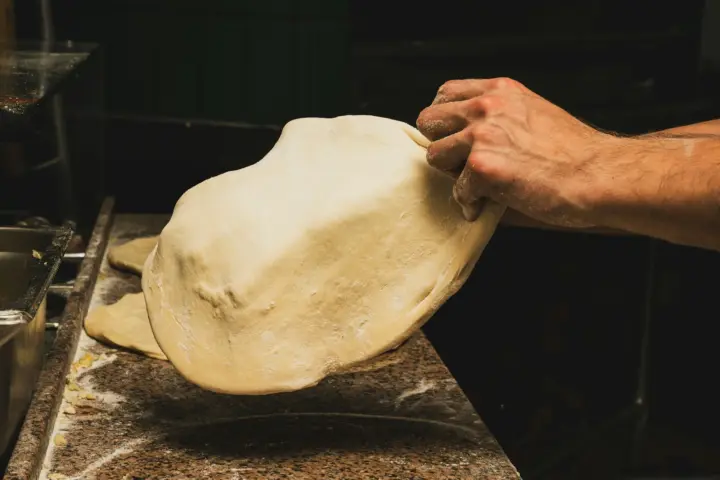
Stretch on a lightly floured counter, not the peel; our guide to stretching dough without tearing it covers the knuckle method. Then dust a wooden peel with semolina, which is coarse enough to roll like tiny ball bearings under the dough, and shake-test before topping. If the dough doesn’t slide, lift the stuck edge and toss more semolina underneath.
Top the pie in under 2 minutes, because wet dough glues itself to wood the longer it sits. Shake again, set the peel tip at the back edge of the steel, tilt slightly and pull back in one quick motion. Hesitating halfway is how pies fold over on themselves.
Classic New York Cheese Pizza
One 14-inch New York-style cheese pie with a thin layer of sauce, home-shredded whole-milk mozzarella and a crisp, evenly browned bottom from a preheated steel or stone.
- Prep
- 15 min
- Cook
- 15 min
- Dough warm-up, 2 to 3 hours (preheat the oven during the last hour)
- 2 hr
- Total
- 2 hr 30 min
- Yield
- One 14-inch (36 cm) pizza, 8 slices
- Serves
- 4
- Oven
- 500–550°F (260–290°C) with a pizza steel or stone in the upper third, preheated 45–60 minutes
Ingredients
Pizza
For stretching and launching
Equipment
- Pizza steel or baking stone
- Wooden pizza peel
- Box grater and fine grater
- Kitchen scale
- Ladle or large spoon
- Pizza wheel or rocker knife
- Wire rack
Instructions
- Warm the dough Take the dough out of the refrigerator 2 to 3 hours before baking and leave it covered on the counter until soft and relaxed; a floured fingertip dent should fill back in slowly.
- Preheat the steel or stone During the dough's last hour, set the steel or stone on a rack in the upper third of the oven and heat the oven to its maximum, 500 to 550°F (260 to 290°C). Preheat a steel at least 45 minutes and a stone a full 60.
- Prep the cheese Shred the mozzarella on the large holes of a box grater and finely grate the hard cheese. For slower-browning cheese, freeze the shredded mozzarella on a plate for 15 minutes while you stretch.
- Stretch the dough Flour the dough and counter lightly. Press the center flat with your fingertips, leaving a ¾-inch (2 cm) rim, then stretch over your knuckles into a 14-inch (36 cm) round with a thin, even center and no holes.
- Move it to the peel Dust a wooden peel with the semolina, lay the dough on it and reshape it into a round. Shake the peel; the dough should slide freely.
- Sauce thinly Spoon the sauce into the center and spread it in a spiral with the back of the spoon, stopping at the rim. The layer should be thin enough that the dough shows faintly in spots.
- Add cheese and oil Scatter the mozzarella evenly up to the sauce line, dust with the grated hard cheese and drizzle with the olive oil. Work quickly so the pie is topped within about 2 minutes.
- Launch Shake the peel to confirm the pie slides. Set the tip at the back edge of the steel or stone, tilt it slightly and pull the peel back in one quick motion, then close the door.
- Bake Bake at 500 to 550°F (260 to 290°C): 6 to 9 minutes on a steel, 10 to 15 minutes on a stone. Rotate the pie 180 degrees with the peel halfway through if your oven browns unevenly.
- Check for doneness It's done when the rim is puffed and golden brown, the cheese bubbles to the center with light-brown spots, and the underside (lift an edge) is evenly deep golden.
- Broil if the top lags If the bottom is done but the top is still pale, switch the oven to broil for 1 to 2 minutes, watching constantly so the cheese doesn't burn.
- Rest and finish Slide the peel under the pizza and move it to a wire rack for 2 minutes. Sprinkle with the oregano and a little more grated cheese.
- Slice and serve Transfer to a cutting board and make four cuts through the center for 8 slices. Fold each slice lengthwise to eat. Let the steel or stone reheat 5 to 10 minutes before baking another pie.
Notes
- Dough figures match our New York-style dough: a 380 g ball at 62% hydration, 2.4% salt, 2% olive oil and 2% sugar.
- No salt is added at assembly; the sauce and cheeses season the pie.
- Refrigerate leftovers within 2 hours and eat within 3 to 4 days; wrapped frozen slices keep their quality for 1 to 2 months.
How to tell when it’s done
Go by color, not the timer. A New York pie is evenly browned rather than leopard-spotted like a Neapolitan: a golden rim with maybe a couple of darker bubbles, and cheese mottled red, white and light brown rather than a flat white sheet.
- Underside: Lift an edge. It should be evenly deep golden to light mahogany, with a few darker freckles and no pale patches.
- Rim: Puffed, golden brown and firm when tapped.
- Cheese: Bubbling to the center with scattered light-brown spots. Small orange beads of fat are normal.
If the bottom is done but the top looks pale, broil for 1 to 2 minutes. King Arthur’s New York-style pizza recipe builds a broil into every bake: its pies start on a lower rack, then move to the top rack for 2 to 3 minutes under the broiler until charred in spots. Starting high in the oven, this pie needs less. If your oven tops out at 500°F (260°C), expect the long end of each time range and lean on the broiler.
Warning: Broilers vary widely, and cheese goes from spotted to burnt quickly. Stay at the oven and watch.
Resting, slicing into 8, and the fold
Move the pie to a wire rack for 2 minutes. A rack lets steam escape from underneath, where a cutting board would trap it against the crust. The short rest also lets the cheese set so it doesn’t slide when you cut.
Sprinkle on the oregano, then cut 8 slices with four firm passes through the center using a wheel or rocker knife.
To eat it the New York way, fold each slice lengthwise so the crust creases into a trough. The crease stiffens the slice, so the tip stays up instead of drooping. If yours still flops, blame too much sauce or cheese, or an under-browned bottom.
Common mistakes and how to fix them
- Soupy center: Too much sauce or cheese. Stick to ⅔ cup of sauce and 6 ounces of mozzarella.
- Cheese won’t stretch: Pre-shredded or part-skim. Shred a whole-milk block.
- Pale, soft bottom: The slab wasn’t hot enough. Preheat the full hour and let it recover 5 to 10 minutes between pies.
- Burnt bottom, pale top: Move the rack up a notch, drop to 500°F (260°C), or use the broiler finish.
- Stuck to the peel: Too little semolina, a hole in the dough, or too long on the peel.
Variations
- Garlicky: Grate half a small garlic clove into the olive oil before drizzling.
- Tangier melt: Swap 1 ounce (28 g) of the mozzarella for shredded provolone. Our guide to the best pizza cheeses explains how other cheeses behave.
- One topping: Keep it to one or two. Thin toppings like pepperoni barely change the bake time.
Storage, make-ahead and reheating
Shred the cheese up to a day ahead and refrigerate it airtight. Don’t sauce the dough ahead, or the sauce soaks in and the pie sticks to the peel.
Refrigerate leftovers within 2 hours, or within 1 hour if it’s above 90°F (32°C), per the FDA’s safe food handling guidelines. Eat them within 3 to 4 days, the window the FDA’s refrigerator and freezer storage chart gives for cooked dishes.
Food frozen at 0°F (−18°C) stays safe indefinitely, so the freezer limit is about quality: wrap slices airtight and eat them within 1 to 2 months.
The FDA lists 165°F (74°C) as the target for reheated leftovers. A hot skillet or preheated steel restores the crisp bottom far better than a microwave; our guide on how to reheat pizza compares the methods.
Sources
- The Importance of Preheating Your Pizza Stone, America's Test Kitchen (Cook's Illustrated)
- New York-Style Pizza, King Arthur Baking
- Perfect NY-Style Cheese Pizza (Baked on a Baking Steel), Baking Steel
- 21 CFR § 133.156 Low-moisture mozzarella and scamorza cheese, Legal Information Institute, Cornell Law School
- Ingredient Weight Chart, King Arthur Baking
- Safe Food Handling, U.S. Food and Drug Administration
- Refrigerator & Freezer Storage Chart (March 2018), U.S. Food and Drug Administration