Homemade Pepperoni Pizza with a Crispy Crust
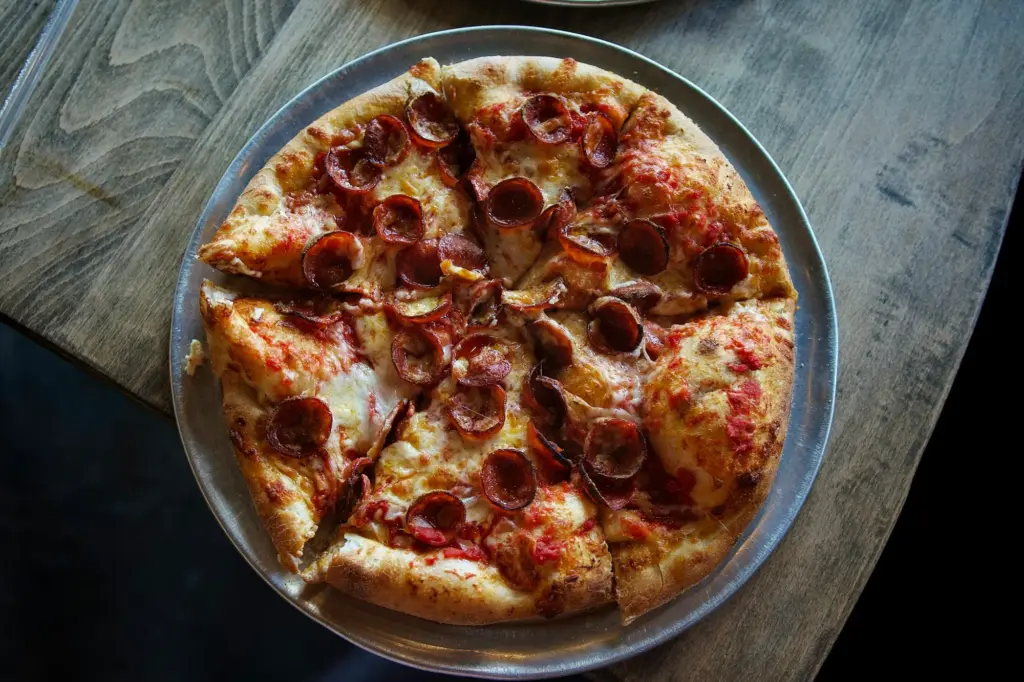
Narrow, natural-casing pepperoni on top of the cheese, 3 ounces per 14-inch pie, baked on a steel or stone at full heat until the cups char and the base browns.
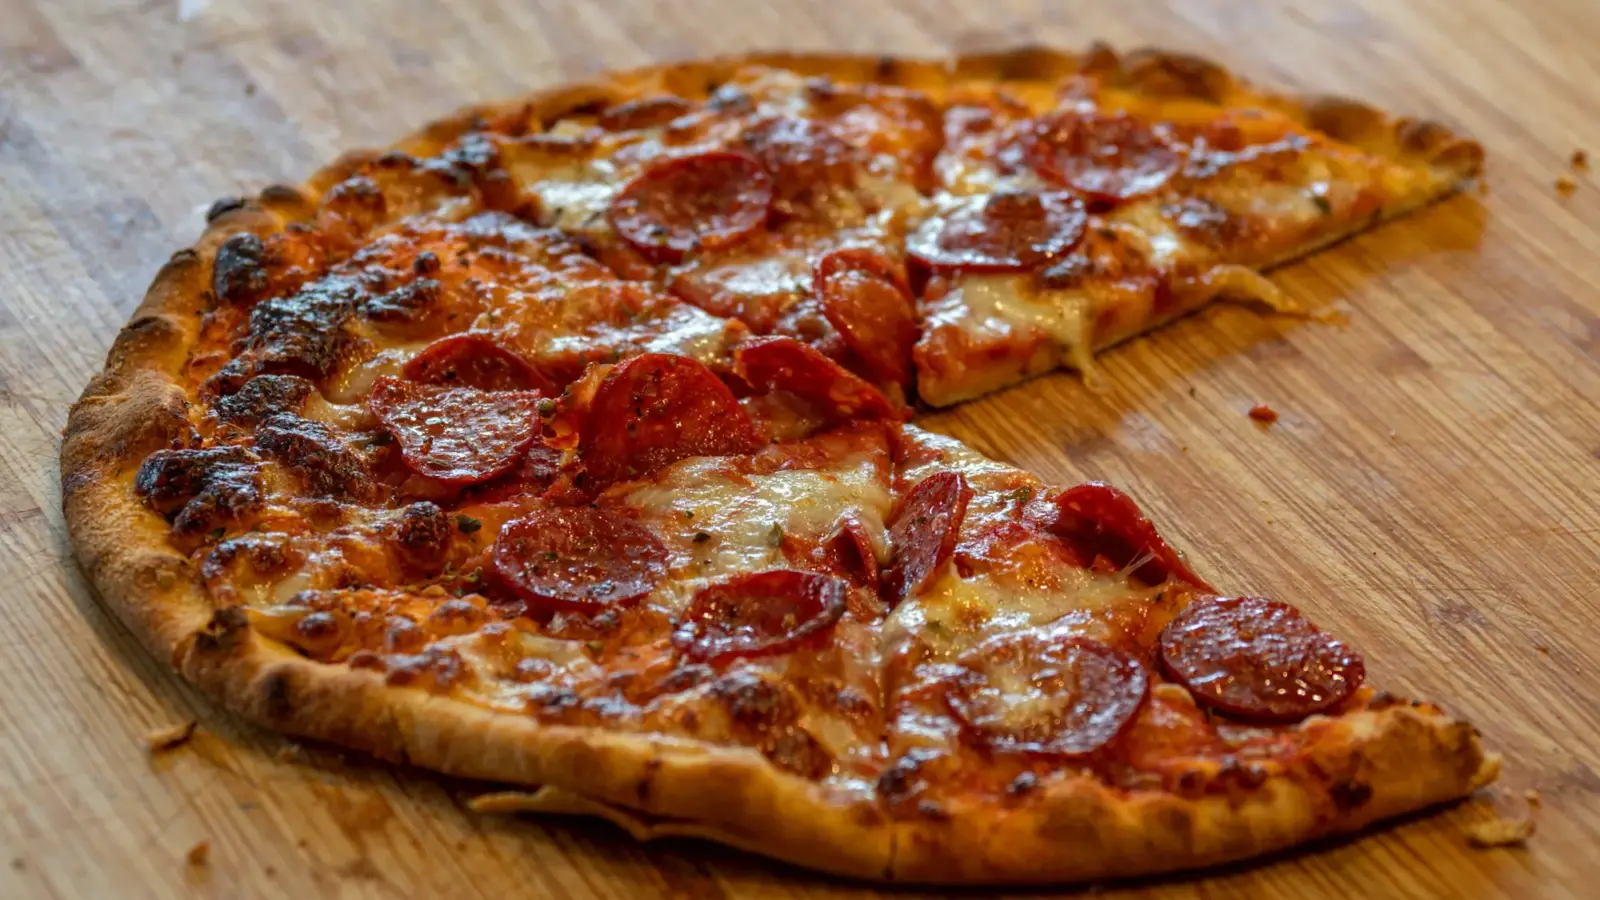
A crisp pepperoni pie at home comes down to three choices: narrow, natural-casing pepperoni sliced about ⅛ inch (3 mm) thick, roughly 3 ounces (85 g) of it on a 14-inch pie, and every slice on top of the cheese. Up there the edges curl into crunchy, charred cups. Bake on a steel or stone preheated for a full hour at your oven’s highest setting, finish under the broiler, and the crust stays crisp under the rendered fat.
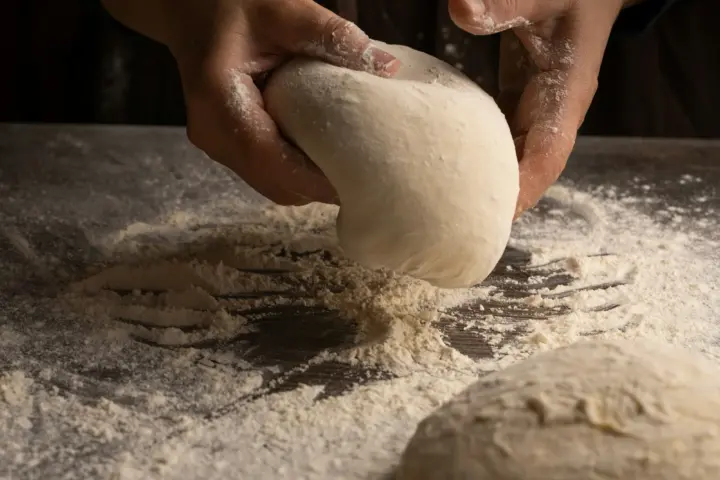
The recipe uses one 380 g ball of our cold-fermented New York-style pizza dough, made one to three days ahead, and ⅔ cup of no-cook pizza sauce.
Why this method gives you a crisp crust and crisp pepperoni
Pepperoni is a cured, dried sausage, and a lot of it is fat: the label on Hormel’s Cup and Crisp pepperoni lists 14 g of fat per 30 g serving, close to half its weight. In the oven that fat melts out, and wherever it pools it soaks the cheese and the dough below. A thin crust survives it only if the bottom bakes fast and the toppings stay light.
A steel or stone stores an hour of oven heat and pours it into the base the moment the pie lands, so the underside browns before the center goes soggy. The broiler then browns the cheese and crisps the pepperoni in 1 to 3 minutes. The dough does its part: at 62% hydration, with 2.4% salt and 2% each of sugar and olive oil, it is built to brown in a home oven.
Cup-and-char or wide and flat: choosing the pepperoni
Cupping pepperoni, sold as “cup and char” or “cup and crisp,” comes in narrow sticks with natural or collagen casing and is cut fairly thick. Each slice curls into a small bowl with blackened edges and a pool of orange fat. Tasting Table describes the style as long popular in Buffalo and parts of the Midwest before it spread to New York pizzerias. Supermarket versions exist too; the Hormel slices mentioned above come in collagen casing.
Wide, flat pepperoni, the thin pre-sliced kind, stays level as it bakes, covers more pizza per ounce and spreads its fat across the cheese.
| Cupping (cup and char) | Wide and flat | |
|---|---|---|
| Typical form | Narrow cased stick or thick pre-cut slices | Thin pre-sliced rounds |
| In the oven | Curls into cups with charred, crunchy rims | Stays flat; edges crisp lightly |
| Where the fat goes | Pools inside each cup | Spreads over the cheese |
| For a 14-inch pie | 3 oz (85 g) | 2 oz (57 g) |
Why some pepperoni cups
Tasting Table’s summary of J. Kenji López-Alt’s experiments for Serious Eats lays out the physics. Cheese and dough insulate the underside of each slice, so the top heats faster, shrinks and pulls the edges up. Natural- or collagen-cased pepperoni curls best, and the ideal thickness ran from 0.1 to 0.225 inch (about 2.5 to 6 mm), so ⅛ inch (3 mm) lands in the window. A narrow stick, about 1 inch (25 mm) across, also gives you more, smaller cups per ounce.
Tip: Leave a natural or collagen casing on when you slice a stick. A plastic or fibrous casing is inedible and should come off.
How much pepperoni a 14-inch pizza can carry
On a 14-inch (36 cm) pie, 3 oz (85 g) of cupping pepperoni is generous but still bakes through: about 50 slices from a 1-inch stick or 30 from a 1¼-inch one, covering roughly a third of the cheese. Thin, wide slices go further, so 2 oz (57 g) does the same job. For other sizes, scale by the topped area: about 2 oz (57 g) of cupping pepperoni on a 12-inch pie and 4 oz (113 g) on a 16-inch.
Keep to a single layer with small gaps, since the slices shrink as they cook. Overlapping slices steam rather than crisp, and much past 4 oz (113 g) on a 14-inch pie, the center carries more fat than a home oven can crisp.
On top of the cheese or underneath
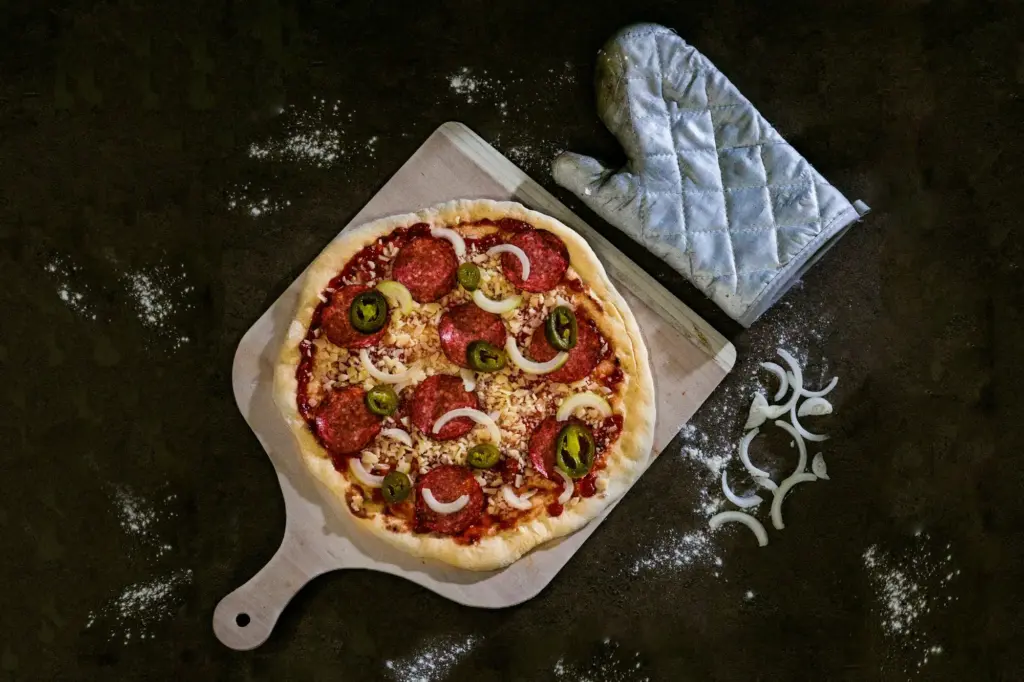
For cups and char, pepperoni goes on top, following the order in our guide to the best pizza cheese: sauce, cheese, then cured meats, so their edges meet the heat. Buried under mozzarella, the slices steam, stay soft and flat, and season the cheese with their fat instead.
Pepperoni under the cheese is a fair choice if you dislike crunchy edges or your broiler runs fierce. You can also split it: a quarter of the slices under the cheese, the rest on top. Either way, use whole-milk low-moisture mozzarella and keep it to about 6 oz (170 g); the pepperoni supplies plenty of fat.
Baking on a steel or stone at full heat
Give the steel or stone a full hour at your oven’s highest bake setting, usually 500 to 550°F (260 to 290°C). The card follows the two-rack method in King Arthur Baking’s New York-style pizza recipe: bake on the surface in the lower third until the underside is spotted and brown, then move the pie to an upper rack and broil it briefly. It suits either surface; a steel moves heat into the dough faster than stone, so it browns the bottom a little sooner.
King Arthur warns that a pie can go from charred to burnt quickly, and pepperoni edges go first, so check every 30 seconds. For a hotter setup with the steel high under the broiler, see our guide to baking crispy pizza in a home oven.
Managing the orange oil
Some rendered fat is the point; it carries the pepperoni’s paprika and chili. The job is to keep it out of the center of the crust.
- Stay in the range above and choose cupping pepperoni, which holds much of its fat in the cups.
- Pre-render wide slices. Microwave them in a single layer between paper towels for 20 to 30 seconds, until fat beads on the paper.
- Blot after baking by touching a folded paper towel to the pools of oil.
- Rest the pie on a wire rack so steam escapes from under the crust instead of condensing against a board.
New York-Style Pepperoni Pizza
A 14-inch New York-style pie with cupping pepperoni over whole-milk mozzarella, baked on a preheated steel or stone and finished under the broiler.
- Prep
- 15 min
- Cook
- 10 min
- 2-hour dough warm-up (the oven preheats during the second hour) and a 5-minute rest after baking
- 2 hr 5 min
- Total
- 2 hr 30 min
- Yield
- One 14-inch (36 cm) pizza; 8 slices
- Serves
- 2
- Oven
- 500–550°F (260–290°C), pizza steel or stone preheated 1 hour; broiler to finish
Ingredients
Pizza
To finish (optional)
Equipment
- Pizza steel or baking stone
- Pizza peel
- Kitchen scale
- Sharp knife and cutting board
- Box grater
- Paper towels
- Wire rack
- Pizza wheel or large knife
Instructions
- Warm the dough Two to 3 hours before baking, set the covered dough on the counter. It's ready when it feels soft and a floured fingertip dent fills back slowly.
- Preheat At least 1 hour before baking, set a pizza steel or stone in the lower third of the oven, a second rack in the upper third, and heat the oven to its highest bake setting, 500 to 550°F (260 to 290°C).
- Prep the toppings Slice the pepperoni ⅛ inch (3 mm) thick, leaving natural or collagen casing on. Shred the mozzarella and keep it cold.
- Stretch the dough Flour the dough and counter and stretch it into a 14-inch (36 cm) round with a ½- to ¾-inch (1 to 2 cm) rim. Move it to the semolina-dusted peel and shake to check that it slides.
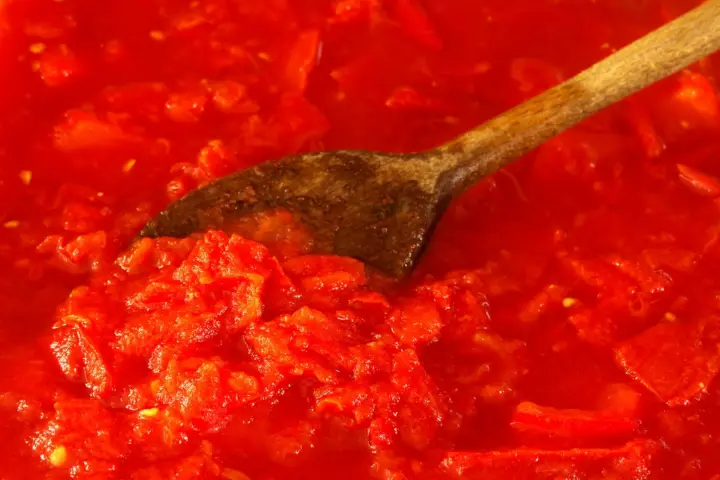
- Sauce Spread the sauce thinly with the back of a spoon, leaving a 1-inch (2.5 cm) bare rim.
- Add the cheese Sprinkle on the grated hard cheese, if using, then scatter the mozzarella evenly to just short of the sauce's edge.
- Add the pepperoni Lay the slices on the cheese in a single layer, about ¼ inch (6 mm) apart. Work quickly, then give the peel one more shake.
- Bake on the lower rack Slide the pizza onto the steel or stone and bake at 500 to 550°F (260 to 290°C) for 6 to 8 minutes, until the rim is golden, the cheese bubbles and the underside is browned with darker spots when you lift an edge. A stone may need 1 to 2 minutes more.
- Broil Switch to broil, use the peel to move the pizza to the upper rack and broil 1 to 3 minutes, checking every 30 seconds, until the pepperoni edges darken and curl and the cheese browns in spots. Skip this if the top is already well colored.
- Blot and rest Transfer to a wire rack, touch a folded paper towel to any pools of oil and rest 3 to 5 minutes so the cheese sets.
- Finish and slice Add the oregano, grated cheese, pepper flakes or hot honey as you like, and cut into 8 slices.
Notes
- Make the dough 24 to 72 hours ahead and the sauce up to 5 days ahead; their time is not included above.
- Store-bought dough: a 1-pound (454 g) ball works but bakes up slightly thicker, so go by the browned underside, not the clock.
- Wide, thin pepperoni: use 2 oz (57 g); for less grease, microwave the slices between paper towels for 20 to 30 seconds first.
- Broiler in a drawer under a gas oven: bake on the center rack, skip the broiler and allow a slightly longer bake.
- Second pizza: switch back to bake and give the surface at least 5 minutes to recover.
- Leftovers: refrigerate within 2 hours and eat within 3 to 4 days, or freeze for 1 to 2 months.
Common pepperoni pizza mistakes
- Launching too soon. A surface heated for 20 minutes gives a pale, bendy base that can’t handle the fat.
- Overloading the center. Extra sauce, extra cheese and overlapping slices pile water and fat onto the slowest-baking spot.
- Slicing too thin or too thick. Paper-thin slices lie flat and scorch; very thick ones take longer to crisp than the crust takes to bake.
- Topping slowly. A sauced skin left sitting on the peel starts to stick, so measure everything before you stretch.
- Walking away from the broiler, or adding honey before it. Honey’s sugars scorch.
Hot honey and other variations
Hot honey is a modern twist, not a slice-shop tradition. The company timeline from Mike’s Hot Honey says its founder came across jars of chili-infused honey on pizzeria tables while studying in Brazil in 2003. In August 2010, while apprenticing at Paulie Gee’s in Brooklyn, he began making small batches for the pizzeria to drizzle on its pies, and he started bottling it that November.
Drizzle 1 to 2 tablespoons (15 to 30 ml) over the pie straight from the oven. For a quick version, microwave 2 tablespoons (30 ml) of honey with ¼ teaspoon (1.25 ml) of crushed red pepper flakes for 10 to 15 seconds, let it steep 10 minutes and use it the same day.
Sautéed mushrooms, jalapeños and banana peppers all suit pepperoni, and our roundup of classic pizza topping combinations covers pairings that balance its salt and fat. Turkey pepperoni is much leaner, so it renders less fat and crisps less at the edges.
Storing, reheating and making ahead
Refrigerate leftover slices within 2 hours and eat them within 3 to 4 days, per University of Illinois Extension. FoodSafety.gov’s storage chart, as reproduced by University of Delaware Cooperative Extension, allows 1 to 2 months in the freezer. Reheat to 165°F (74°C), ideally in a skillet or on a hot steel; our guide to reheating pizza without a soggy crust has the details.
You can slice the pepperoni and shred the cheese up to a day ahead and refrigerate them covered. Once pepperoni is opened, keep it in the refrigerator: USDA’s shelf-stable storage chart gives opened hard or dry sausage about 3 weeks. Labels vary, so follow yours.
Sources
- Why Does Some Pepperoni Curl When Cooked? (Jen Peng, Apr. 7, 2022; summarizes J. Kenji López-Alt's Serious Eats experiments on casing, heat and slice thickness), Tasting Table
- HORMEL Pepperoni Cup and Crisp (product page: collagen casing, 'cup and crisp when cooked', 14 g fat per 30 g serving, refrigerate after opening), Hormel Foods
- New York-Style Pizza (recipe: two-rack bake, 1-hour preheat at 500°F, 5-minute bake then 2-3 minute broil), King Arthur Baking
- Our Story (company timeline: jars of chili honey on pizzeria tables in Brazil, Nov. 2003; small batches for Paulie Gee's, Aug. 2010; bottling began Nov. 2010), Mike's Hot Honey
- Leftovers (Food Safety): refrigerate within 2 hours, use within 3-4 days, reheat to 165°F, University of Illinois Extension
- Keep Food Safe: Guide to Refrigerator Storage Periods (Aug. 2025; reproduces the 2023 FoodSafety.gov Cold Food Storage Chart: pizza 3-4 days refrigerated, 1-2 months frozen), University of Delaware Cooperative Extension
- Shelf-Stable Food Safety (fact sheet, updated August 2014: air-dried pepperoni listed among shelf-stable dry sausages; hard/dry sausage 3 weeks refrigerated after opening), USDA Food Safety and Inspection Service (via govinfo.gov)
- Ingredient Weight Chart (shredded mozzarella 113 g per cup, grated Parmesan 50 g per 1/2 cup, semolina 163 g per cup, flour 120 g per cup, honey 21 g per tablespoon), King Arthur Baking